


We’ve listened to your feedback! Omella’s new feature now makes it possible to track offline payments directly within the platform, so you can seamlessly accept cash or check payments. Use it to track payments for your events, concessions or dues! Create an event, receive payments in cash or by check, and mark them as paid in your Omella dashboard once they’ve been collected. It’s easy, efficient, and keeps everything organized! 💵📊
Preview of what the checkout page looks like for payers:
.png)
After receiving a cash or check payment, simply mark it as paid in Omella to keep your records accurate and up-to-date:
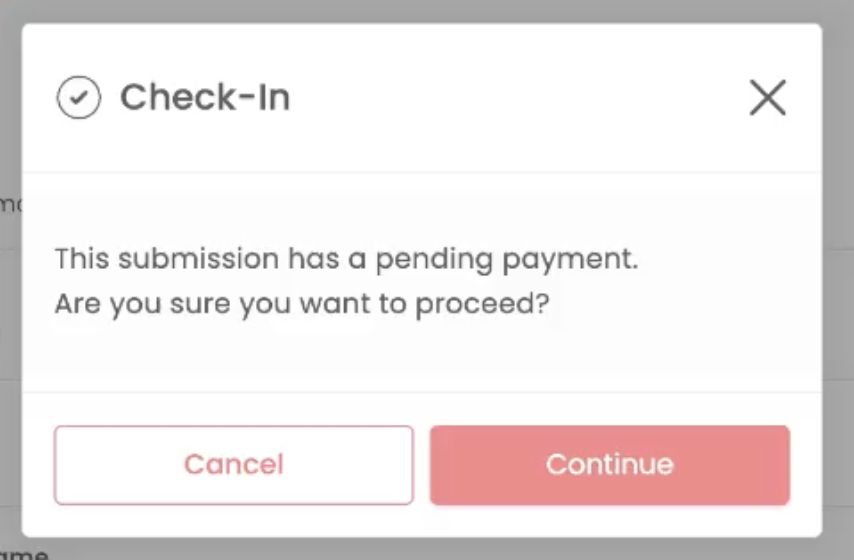
If a submission isn’t marked as paid, a warning will appear before you can press the check-in/fulfilled (you name it!) button:
Step-by-step guide on how to issue refunds for cash or check payments.
Need Help?
If you have any questions or need assistance enabling this option, our team is always ready to help! Reach out to us at help@omella.com, and we’ll guide you through the process.


The rich text element allows you to create and format headings, paragraphs, blockquotes, images, and video all in one place instead of having to add and format them individually. Just double-click and easily create content.
A rich text element can be used with static or dynamic content. For static content, just drop it into any page and begin editing. For dynamic content, add a rich text field to any collection and then connect a rich text element to that field in the settings panel. Voila!
Headings, paragraphs, blockquotes, figures, images, and figure captions can all be styled after a class is added to the rich text element using the "When inside of" nested selector system.