


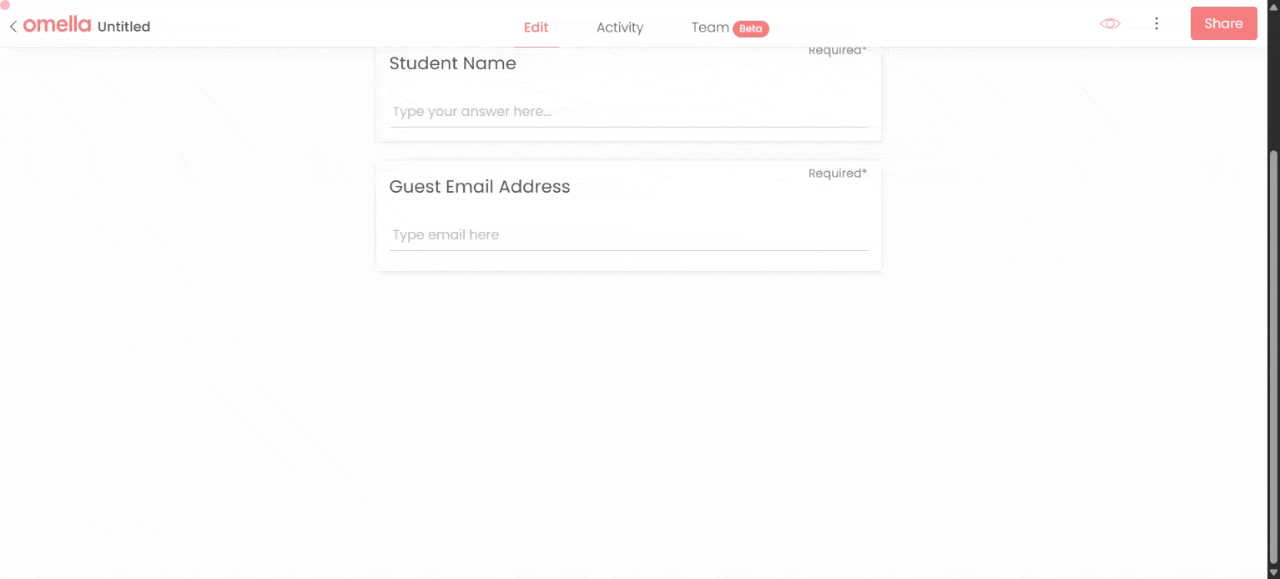
Approval Workflows allow you to collect information, gather approvals, and route submissions between multiple participants without leaving a single page.
Approval Workflows are powered by Sections. Each Section represents a step in the process and can be assigned to a different participant. Participants only see and complete the section assigned to them, keeping the workflow organized and easy to manage.
Common use cases include:
Use the send to setting within a Section to determine who should receive the next part of the workflow.
You can route a section to:
Each section can be routed to a different submitter, allowing forms to move seamlessly through review and approval processes.
Use the Approval Block when a submission requires review before moving forward.
When a submitter approves the request, the workflow continues to the next section. For example, you may collect payment only after approval has been granted.
If the request is rejected, the workflow ends and no additional sections are sent.
.gif)
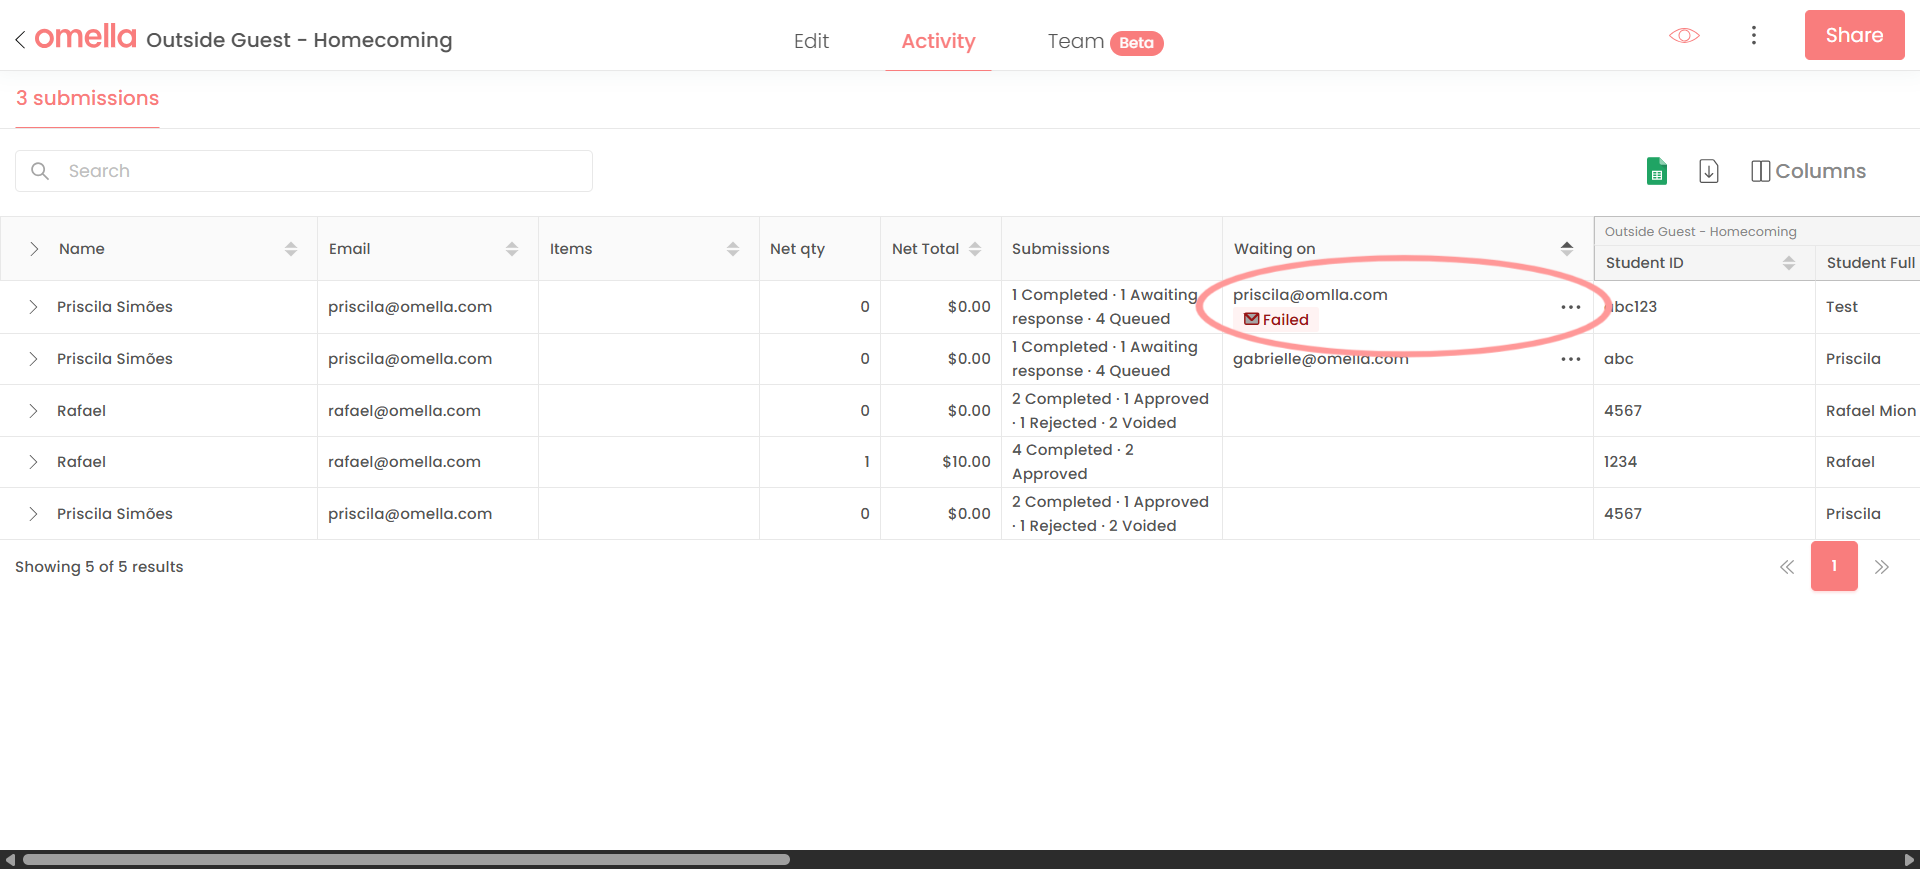
If an email cannot be delivered, you'll see a failed icon in the Activity tab. Update the email address and resend the section directly from the submission.


The rich text element allows you to create and format headings, paragraphs, blockquotes, images, and video all in one place instead of having to add and format them individually. Just double-click and easily create content.
A rich text element can be used with static or dynamic content. For static content, just drop it into any page and begin editing. For dynamic content, add a rich text field to any collection and then connect a rich text element to that field in the settings panel. Voila!
Headings, paragraphs, blockquotes, figures, images, and figure captions can all be styled after a class is added to the rich text element using the "When inside of" nested selector system.